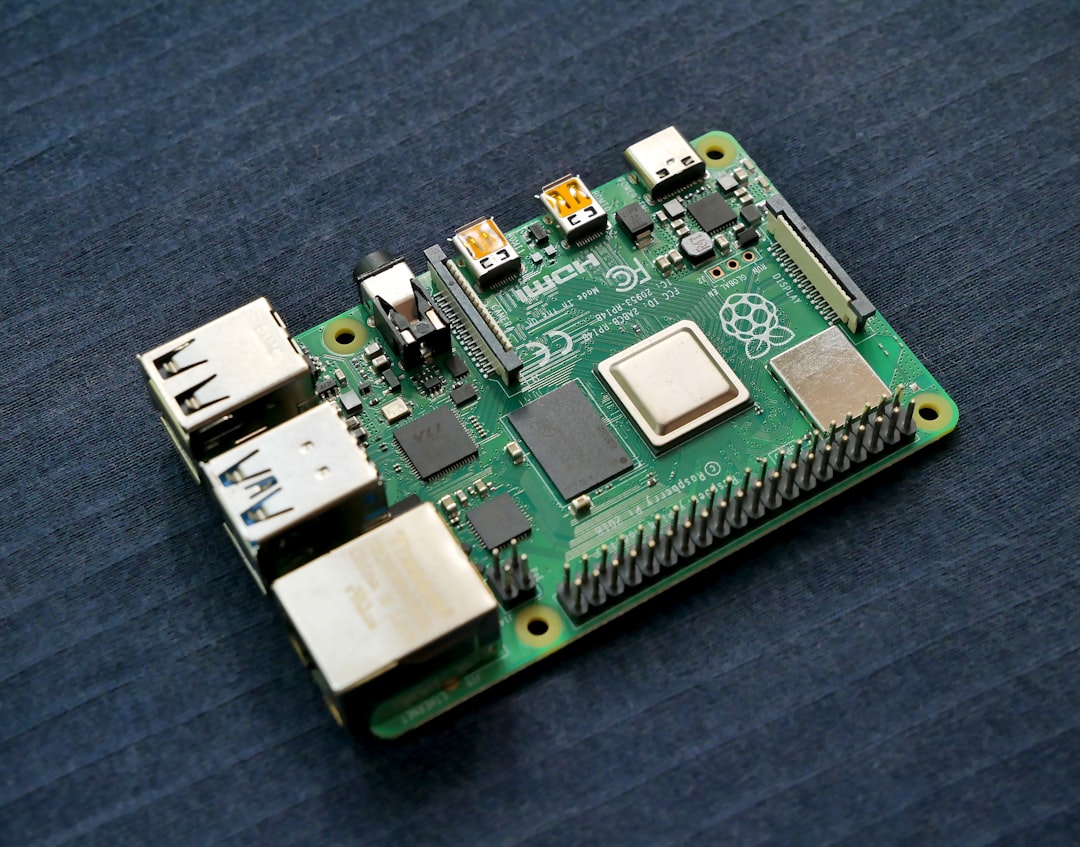
Raspberry Pi for Beginners: What You Need to Get Started
Raspberry Pi is an affordable, versatile single-board computer ideal for learning programming, electronics, and home automation. With a small investment in hardware and a few core accessories, you can move from unboxing to running projects in a few hours.
This guide lays out the practical, no-nonsense items and skills beginners need to get started with confidence. It covers choosing a board, essential peripherals, prototyping gear, recommended kits, and a simple checklist to follow.
What is a Raspberry Pi and who is it for?
The Raspberry Pi is a credit-card-sized computer that runs Linux and supports Python, Scratch, Node.js and other languages. It’s suitable for students, hobbyists, educators, and makers who want a low-cost platform for learning coding, building IoT devices, media centers, and electronics projects.
Choosing the right Raspberry Pi model
There are several models: the Raspberry Pi 4 (higher RAM and USB 3.0), Raspberry Pi Zero (very small and low-cost), and intermediate variants. Choose based on intended use: multimedia and desktop tasks favor Pi 4; simple sensor projects or tight budgets can use Pi Zero. Also factor in RAM, ports, and networking needs.
If you plan to scale from simple experiments to larger builds, consider kits and components that support broader hardware work—look into Adult Engineering Kits to pair hands-on components with Pi-driven projects.
Essential peripherals (what you must have)
Before powering up your Raspberry Pi, gather these items:
- Reliable power supply (official 5V USB-C adapter for Pi 4),
- MicroSD card (16–32GB class 10 or better) with Raspberry Pi OS,
- Case or cooling (passive heatsink or fan for heavy loads),
- Keyboard and mouse (USB or Bluetooth),
- HDMI cable or adapter for display, or set up headless via SSH/Wi‑Fi.
Proper peripherals reduce troubleshooting time—cheap power supplies and slow SD cards are common sources of problems.
Electronics and prototyping accessories
If you want to connect sensors, LEDs, or motors to the Pi’s GPIO pins, basic prototyping gear makes development faster and safer. A breadboard and jumper wires let you build and test circuits without soldering; for example, a breadboard kit like the BOJACK 3-values solderless breadboard set provides boards and jumpers suited for typical Pi projects.
Starter kits, modules and project ideas
Starter kits package sensors, displays, and instructions so you can build working projects quickly. If you’re interested in industrial-style control or bridging Arduino-style I/O with Raspberry Pi, consider a more advanced starter bundle such as the Arduino PLC Starter Kit to learn about digital and analog interface patterns you can replicate with a Pi and companion microcontrollers.
For guided robotics and STEM projects that emphasize hands-on assembly and coding, kits like the Butterfly EduFields 70+ robotic kit provide ready projects that can integrate with a Raspberry Pi for higher-level control and sensing.
Learning resources and kits to accelerate progress
Beginners benefit from structured learning kits and community examples. Look for kits that include step-by-step projects, sensors, and instructions compatible with single-board computers. Categories that pair well with Raspberry Pi learning paths include DIY Maker Kits for mechanical and electronics crossover projects and Adult Robotics Kits if you want to build robots that the Pi can control.
Soldering and hardware skills (when to learn them)
You can do many Pi projects without soldering, but learning basic soldering opens up permanent builds and custom circuit boards. A beginner-focused soldering kit with temperature control helps you practice safe techniques and reliable joints. If you plan to move to custom hardware or long-term installations, browse the Electronics Soldering Kits to get started.
Project examples to try first
Hands-on projects cement concepts quickly. Start with:
- Headless Pi server (SSH + file server),
- Weather station (temperature/humidity sensor + cloud logging),
- Retro game emulator (RetroPie),
- Smart plant monitor (soil moisture + automatic watering),
- Home energy monitor or solar data logger—pairing a Raspberry Pi with a small renewable kit such as the Renewable Energy STEM Kit helps you learn sensor data collection and logging.
For larger sensor and actuator collections, consider combining your Pi with modular electronics learning kits; for example, starter kits that focus on renewable energy or robotics allow you to prototype practical systems without sourcing every component individually.
Setting up the software: OS, tools, and best practices
Install Raspberry Pi OS (Lite for headless, Desktop for a GUI) using an imaging tool. Secure your system: change default passwords, enable automatic updates, and configure SSH keys for remote access. Learn core commands (apt, systemctl, journalctl) and a scripting language like Python to interact with GPIO and sensors.
Checklist: What to buy for your first Raspberry Pi setup
- Raspberry Pi board (Pi 4 or Pi Zero based on use)
- Official power supply
- MicroSD card (16–32GB, class 10 or better)
- Case or heatsink/fan
- HDMI cable or USB-to-serial adapter for headless setup
- Keyboard and mouse (or Bluetooth variants)
- Breadboard and jumper wires (e.g., BOJACK set)
- Starter kit or modules for guided projects (robotics, renewable energy, etc.)
- Soldering kit when moving to permanent builds
FAQ
-
Do I need to solder to start with Raspberry Pi?
No—many projects use breadboards and pre-made jumper wires. Learn soldering later for permanent or compact builds; beginner-friendly soldering kits make that transition easier.
-
Which Raspberry Pi model should a beginner buy?
For general learning and desktop use, Raspberry Pi 4 (4GB) is a solid choice. For low-cost sensor projects, a Pi Zero or Zero W is fine. Match the model to your project needs.
-
What power supply do I need?
Use the official 5V USB-C power supply for Pi 4 or a high-quality 5V/2.5–3A supply for other models. Undersized or poor-quality supplies cause instability.
-
Can I control Arduino-compatible hardware with a Raspberry Pi?
Yes—many projects combine a Pi for high-level control and an Arduino or PLC-style board for real-time I/O. Starter kits like the Arduino PLC Starter Kit are useful reference platforms.
-
Where can I find beginner project components?
Look for bundled maker kits and robotics kits that include sensors and actuators; these shorten setup time and provide structured projects for learning.
Conclusion
Getting started with Raspberry Pi is mostly about gathering a few reliable peripherals, a basic prototyping kit, and one or two structured learning kits to guide your first projects. Follow the checklist, start with simple projects, and scale your skills toward soldering and custom builds. A practical kit-based approach speeds learning and reduces friction—pick one starter kit and one prototyping set, and begin with a small, achievable project.
Products Featured in This Article
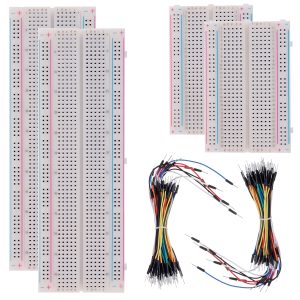
BOJACK 3 Values 130 Pcs Solderless …
BOJACK high quality Solderless Breadboard Assortment KitFeatures:The breadboard and jumper wires kit is ideal for setting…
![Arduino PLC Starter Kit [AKX00051] ...](https://stemparade.com/wp-content/uploads/2026/09/61eRpzT-YnL._AC_SL1000_-300x213.jpg)
Arduino PLC Starter Kit [AKX00051] …
From the brand Coming soon… Imagine, build, innovate Empower and support students Scale projects with precision…
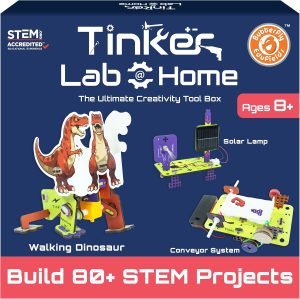
Butterfly EduFields 70+ STEM Roboti…
From the brand Best Sellers Science Kits – New Launches STEM Kit For Kids Ages 8-15…
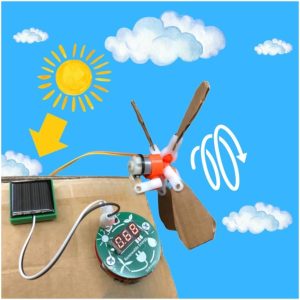
Renewable Energy STEM Kit – DIY S…
Product description Discover the fundamentals of clean energy with this Renewable Energy STEM Kit. Designed for…