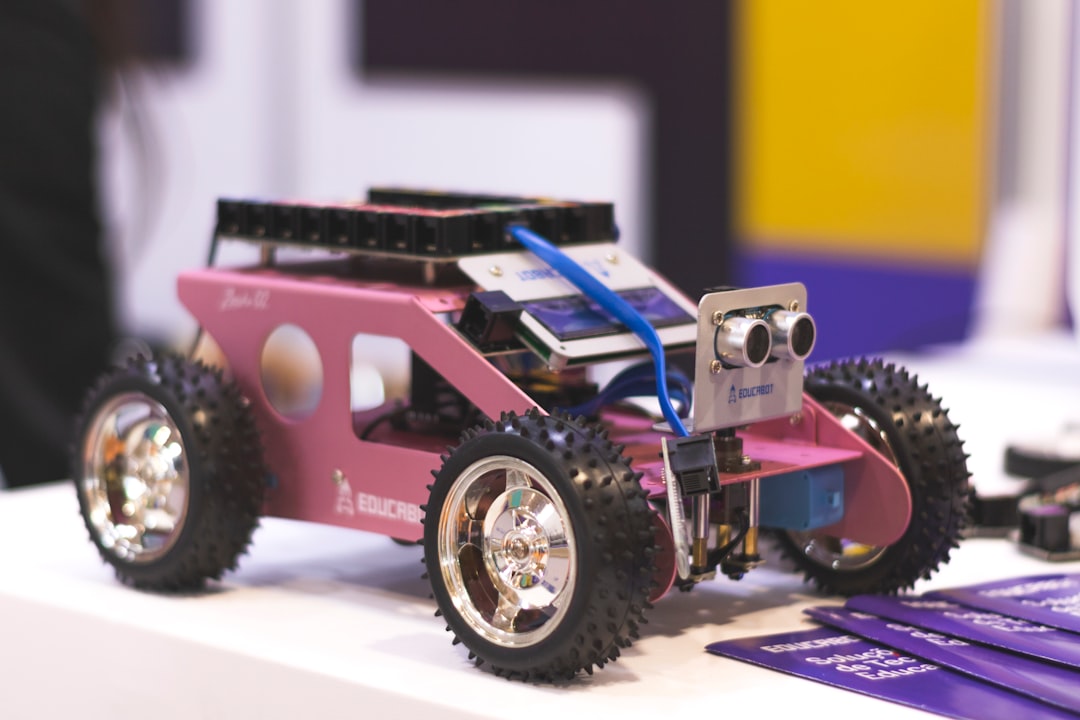
Beginner’s Guide to Robotics Kits for Kids and Teens
Robotics kits are one of the best hands-on ways to teach problem solving, basic engineering, and coding to young learners. The right kit turns abstract concepts into tangible projects—motors move, sensors react, and code controls outcomes, which builds confidence and curiosity.
Whether you’re a parent buying a first kit or an educator building a classroom program, start with reputable sources that group kits by age and skill. Browse selections and compare features on sites like StemParade to find age-appropriate kits, recommended accessories, and expanded learning bundles.
Why robotics kits matter for kids and teens
Robotics combines math, physics, engineering and computer science into one project-based activity. Kits give structure—step-by-step builds and guided lessons—while still leaving room for creativity. For teens, more advanced kits introduce electronics, mechanics, and programming languages that prepare them for higher-level STEM courses.
Choosing a kit by age and skill level
Match complexity to the child’s patience and prior experience:
- Age 5–8: Simple snap-together bots with large parts and visual steps.
- Age 8–12: Kits with motors, basic sensors, block-based coding, and simple circuit elements.
- Age 13+: Metal-frame builds, soldering or modular electronics, text-based coding (Python/C++), and mechanical subsystems.
Look for kits that list recommended ages and the skills they teach. If you want open-ended, build-focused kits that emphasize structures and mechanics, check the selection under Engineering Construction Kits—they pair well with robotics modules for structural learning.
Types of robotics kits: mechanical, electronic, and hybrid
Robotics kits typically fall into three categories:
- Mechanical/construction kits: Emphasize gears, frames, and moving linkages—great for understanding forces and motion.
- Electronic/coding kits: Focus on microcontrollers, sensors, and programming logic.
- Hybrid kits: Combine both, often with modular electronics that snap into a mechanical chassis.
For learners who enjoy engineering challenges like pumps, levers, and fluid motion, targeted STEM kits such as the PATHFINDERS STEM Kit – Hydraulics 4-in-1 introduce mechanical principles that link directly to robot actuation and manipulation.
Starter components and tools—what you’ll need
Most beginner kits include the essential parts: chassis, wheels, motors, and a basic controller. To expand skills you may add:
- Extra sensors (light, distance, line-following)
- Servo motors for precise movement
- Battery packs and charge management
- Basic hand tools (screwdrivers, pliers, hex keys)
When kits require soldering for permanent connections or sensor modules, beginners benefit from supervised practice. A soldering practice kit such as the 2 Pack SMD Soldering Practice Kit provides safe, repeatable exercises to build confidence before modifying real robot boards.
Fabrication and customization: 3D printing and modeling
Customization lets kids design unique chassis, brackets, and mounts. Small teams or makers often pair robotics kits with basic fabrication tools.
If you plan to print custom parts, a reliable desktop unit is a practical investment because it opens repeated prototyping and design practice. Consider an entry-level model from the 3D Printers category to print mounts and replacement parts to fit motors and sensors precisely.
Filament choice matters: PLA is easy and safe for beginners, while stronger materials are useful for functional parts. Stock up on compatible materials from the 3D Printer Filament selection to avoid project delays and to let learners experiment with different strengths and finishes.
For younger builders who want rapid prototyping without a full printer, 3D Printing Pens are a safe, tactile way to create custom pieces and visual designs that attach to kit parts.
Project ideas and learning pathways
Start with short projects that deliver a successful outcome in one session, then build complexity:
- Session 1: Assemble a basic drive robot and test forward/reverse controls.
- Session 2: Add a distance sensor and program simple obstacle avoidance.
- Session 3: Mount a gripper and write routines to pick and place light objects.
- Session 4: Design a custom part and fabricate it with a printer or pen to improve functionality.
Track progress with small goals—speed, precision, new sensors—so learners experience steady wins and clear next steps.
Budgeting, upgrades, and where to buy
Entry-level kits can be affordable and still educational; advanced kits cost more but extend learning and reuse. Plan for consumables (batteries, filaments, replacement gears) and a few upgrades so the kit grows with the child.
If you prefer curated bundles and makers’ accessories, look for categorized maker and expansion options under the DIY Maker Kits section—these collections are useful for classroom scaling and for parents who want modular expansion packs.
Encouraging learning and troubleshooting tips
Teach debugging as a normal part of robotics. Encourage these habits:
- Test individual components (motor, sensor, battery) before integrating.
- Keep a simple log: what changed, what happened, and next steps.
- Break big tasks into smaller experiments with one variable at a time.
- Use online communities or kit manuals for sample code and wiring diagrams.
Quick checklist before you buy
- Is the kit age-appropriate? (skills and small-parts warnings)
- Does it include a controller and power source?
- Are instructions clear and supported by sample code?
- Can parts be replaced or upgraded (motors, sensors, structural components)?
- Do you have space and time for supervised soldering or 3D printing?
FAQ
Q: What’s the best starter kit for an 8-year-old?
A: Choose kits with large interlocking parts, block-based coding, and clear instructions. Look for kits labeled for ages 8–12 and that emphasize snap-fit assembly and basic sensors.
Q: Do kids need to learn soldering to work with robotics kits?
A: No—many entry-level kits use plug-and-play connectors. Soldering becomes useful for advanced customization; practice kits like the soldering trainer can help teens learn safely.
Q: Is a 3D printer necessary for robotics projects?
A: Not necessary, but helpful. A 3D printer speeds prototyping of custom mounts and parts. Alternatives include 3D printing pens or pre-made spare parts from kit vendors.
Q: How much adult supervision is required?
A: Young children need close supervision for small parts and any tools. Teens may work independently but should be guided on electrical safety and soldering fundamentals.
Q: Can robotics kits teach coding effectively?
A: Yes—many kits include block-based and text-based environments. Progress from visual blocks to Python/C++ as skills mature to deepen computational thinking.
Conclusion
Robotics kits are scalable learning tools: start simple, celebrate small wins, and add complexity as confidence grows. Choose age-appropriate kits, plan for a few upgrades, and include hands-on fabrication when ready. Practical investments—like practice soldering kits, basic 3D printing, and modular construction sets—turn short projects into lasting skills.
Products Featured in This Article
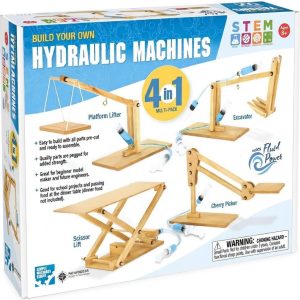
PATHFINDERS STEM Kit- Hydraulics 4-…
From the brand From the brand We specialize in high-quality educational toys. Crafted from FSC-certified wood,…
![[2 Pack] SMD Soldering Practice Kit...](https://stemparade.com/wp-content/uploads/2026/09/81mVt8GIfL._AC_SL1500_-299x300.jpg)
[2 Pack] SMD Soldering Practice Kit…
Product description Master SMD Soldering with the EGSCST 2-Pack Soldering Practice Kit Mastering SMT is key…