Beginner’s Guide to 3D Printing for Students and Hobbyists
3D printing opens a practical, hands-on pathway from idea to physical object. For students and hobbyists it’s a tool for prototyping, learning design, and creating useful or playful items without needing a factory.
This guide walks you through the essentials—choosing a printer, materials, software, workspace setup, and useful upgrades—so you can start printing reliably and improve quickly. If you prefer kit-based learning or want ready projects to practice on, consider exploring DIY maker kits to build skills while you print.
How desktop 3D printing works (quick primer)
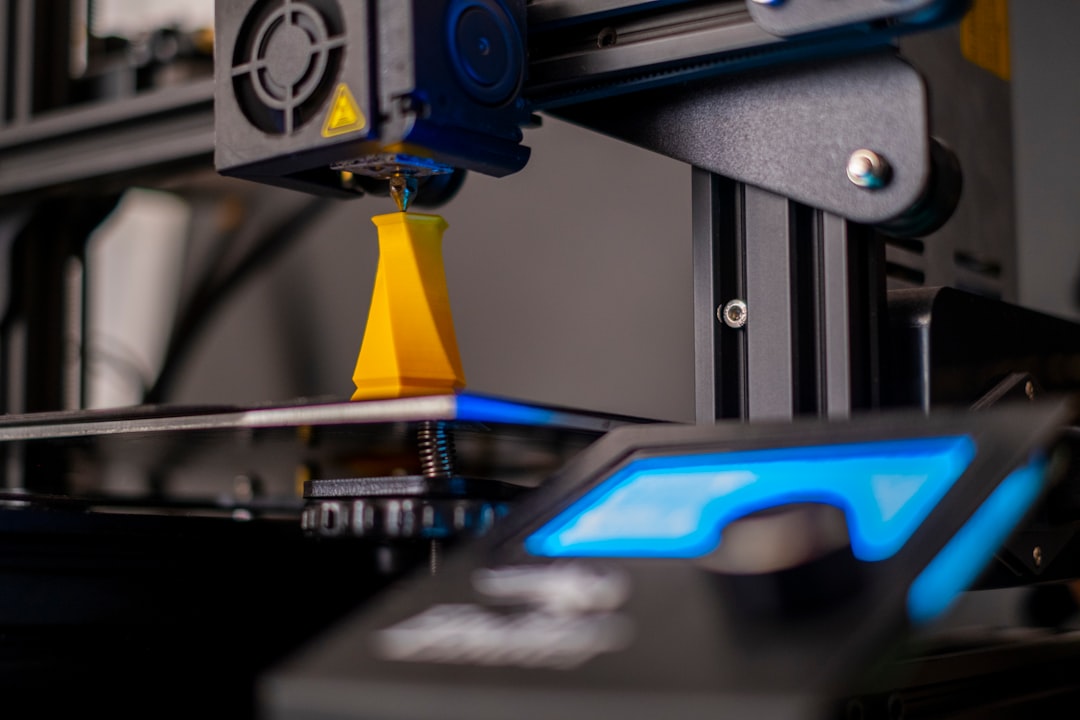
The most common consumer method is fused deposition modeling (FDM). A thermoplastic filament (PLA, PETG, ABS) is heated and extruded layer by layer to build an object. Understanding the core subsystems—motion (axes and belts), extrusion (hotend and nozzle), and bed (heated or fixed)—helps when learning troubleshooting and upgrades.
Choosing your first 3D printer
Start with a reliable, entry-level FDM printer that has a stable community and good documentation. Look for: a heated bed (for versatile materials), a user-friendly interface, stable frame, and a decent print volume for your projects. If you like to learn through structured projects that teach mechanical principles, see options for adult engineering kits to build your mechanical intuition alongside printing practice.
Materials and filament basics
Common filaments:
- PLA — easiest for beginners, low warp, biodegradable options.
- PETG — tougher and more heat-resistant than PLA, slightly harder to print.
- ABS — strong but warps easily; needs an enclosure and ventilation.
When assessing filament quality, examine spool uniformity, diameter tolerance, and user reviews. For detailed inspection of nozzle quality, filament surface, or small layer defects during setup and calibration, a small inspection tool such as the Andonstar AD208S-FA 4K digital microscope is helpful for diagnostics and quality control.
Software and slicing: turning models into prints
You’ll use a slicer to convert a 3D model (STL) into g-code instructions for the printer. Recommended beginner slicers include Cura and PrusaSlicer; both offer presets to get started and advanced settings as you improve. Learn to adjust layer height, infill, supports, and print speed gradually—each affects strength and finish.
To expand the kinds of projects you can make, consider integrating prints into functional builds—robotics and motion projects are natural applications. If you’re curious about using printed parts in robots, check resources and kits in the adult robotics kits category for ideas and compatible components.
Essential tools and workspace setup
Create a small, stable workspace: a sturdy table, good lighting, and ventilation if you print materials like ABS. Essential tools include a scraper, digital calipers, flush cutters, needle files, and a reliable set of screwdrivers.
For cutting and finishing printed parts, a kids-safe cutting table or power accessory bundle can speed safe prototyping. A practical option is the Chompshop Builder Bundle, which is designed for precise cutting and trimming tasks often needed in model and prototype finishing.
Post-processing and finishing techniques
Post-processing turns a good print into a great one. Common methods:
- Sanding and filing to smooth layer lines.
- Priming and painting for aesthetic finishes.
- Vapor smoothing (for ABS) and epoxy coatings for strength and gloss.
- Threaded inserts and heat-set nuts for durable fastenings.
If you plan to embed circuits, you’ll need soldering skills and clean connections—consider beginning with practice sets like the electronics soldering kits to learn safe soldering for small printed electronics projects.
Electronics, prototyping and upgrades
Many hobbyists integrate electronics—LEDs, sensors, motors—into printed projects. For prototyping circuits before committing to a permanent install, a solderless breadboard kit makes testing fast and reversible. A commonly used starter part is the BOJACK 3 Values 130 Pcs solderless breadboard kit, which pairs well with printed enclosures and mounts.
If you want to move from simple additions to more advanced automation—custom controllers, cloud-connected projects, or industrial-style integrations—an educational controller kit like the Arduino PLC Starter Kit offers learning content and hardware suitable for building smart fixtures or custom printer add-ons.
Design tips and learning resources
Start with simple parametric designs: boxes, brackets, clips. Use free CAD tools (Tinkercad for absolute beginners, Fusion 360 for more control). Focus first on fit, tolerances, and print orientation rather than complexity. Iterative design—print-test-adjust—is the fastest route to better parts.
Combine printing with physical STEM projects to reinforce principles like leverage, gearing, and structure. Kits that teach engineering concepts can inspire printable projects and help translate theory into functional designs.
Quick checklist before printing
- Level the bed and confirm nozzle height (first-layer adhesion critical).
- Confirm filament diameter and material type in slicer settings.
- Check bed temperature and adhesion method (glue stick, blue tape, PEI sheet).
- Inspect nozzle and filament path for obstructions.
- Start with a small calibration print to verify dimensions and extrusion.
Conclusion — practical next steps
Begin with a simple, well-documented printer and PLA filament, learn slicing basics, and practice calibration with small prints. Gradually add tools and electronics as your confidence grows—the combo of hands-on printing and kit-based learning will accelerate progress and lead to more ambitious projects.
FAQ
- Q: Which filament should I start with?
A: PLA is the easiest for beginners—low warp and forgiving. - Q: How do I prevent prints from warping?
A: Use a heated bed, good first-layer adhesion (glue/PEI), and control ambient drafts; for ABS, use an enclosure. - Q: Do I need to know electronics to 3D print useful things?
A: No—many useful prints are purely mechanical, but basic electronics skills expand project possibilities and are accessible via starter kits. - Q: How long before I get reliable prints?
A: With consistent calibration and a few test prints, many users see reliable results in a few days to weeks depending on practice time. - Q: Where can I learn to combine prints with moving parts or sensors?
A: Look for robotics and electronics project kits and tutorials to pair with your printed parts; hands-on kits help bridge the gap between design and function.
Products Featured in This Article
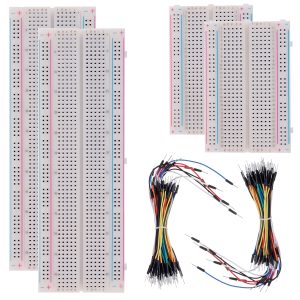
BOJACK 3 Values 130 Pcs Solderless …
BOJACK high quality Solderless Breadboard Assortment KitFeatures:The breadboard and jumper wires kit is ideal for setting…
![Arduino PLC Starter Kit [AKX00051] ...](https://stemparade.com/wp-content/uploads/2026/09/61eRpzT-YnL._AC_SL1000_-300x213.jpg)
Arduino PLC Starter Kit [AKX00051] …
From the brand Coming soon… Imagine, build, innovate Empower and support students Scale projects with precision…
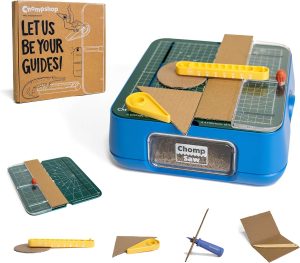
Chompshop Builder Bundle – Kid-Sa…
Designed for ages 8+, this bundle includes the ChompSaw, a kid-safe power tool for cardboard cutting…
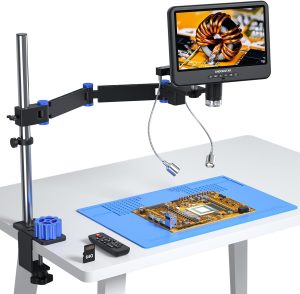
Andonstar AD208S-FA 4K HDMI Digital…
From the brand Andonstar was founded in 2013. Since then, we have obtained over ten patents…